
10178978-Valve-seal-assembly-KMT-Waterjet-part.1743.1
Product ID: 10178978 – Valve Seal Assembly / On/Off Valve Needle Seal Kit
Description:
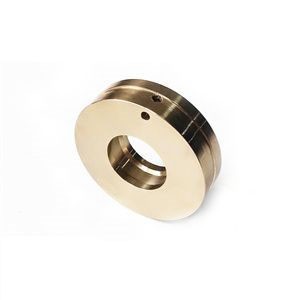
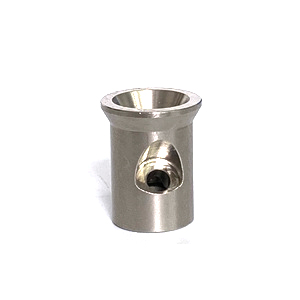
This component is a valve seal assembly, also known as an on/off valve needle seal kit or pneumatic valve seal assembly, designed for high-pressure waterjet cutting systems . It is a cylindrical assembly manufactured from plastic, steel, and rubber materials . This assembly is installed within the on/off valve (water switch) body and contains the critical sealing elements that control the passage of ultra-high-pressure water .
This part number is known to replace or cross-reference with: VLV-1005, 1-11100, 1-11142, 5000045, 0560996123, 10014714, 20428052, and 05143771 .
Applications:
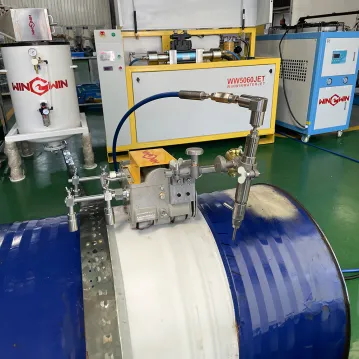
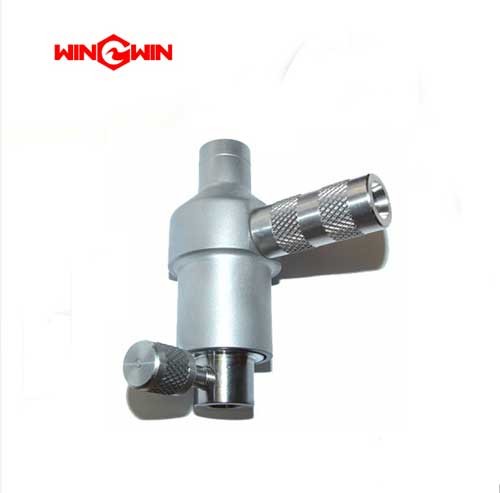
Used in waterjet cutting machines to seal the on/off valve (water switch) assembly that controls the cutting jet start/stop function .
Installed within the water switch valve body, positioned between the pneumatic cylinder (top) and the nozzle connecting rod (bottom) .
Suitable for both pure water and abrasive waterjet systems operating at ultra-high pressures, typically up to 60,000 psi (approximately 4,137 bar).
Features:
Cylindrical assembly constructed from durable materials including plastic, steel, and rubber to withstand high-pressure cycling and sealing requirements .
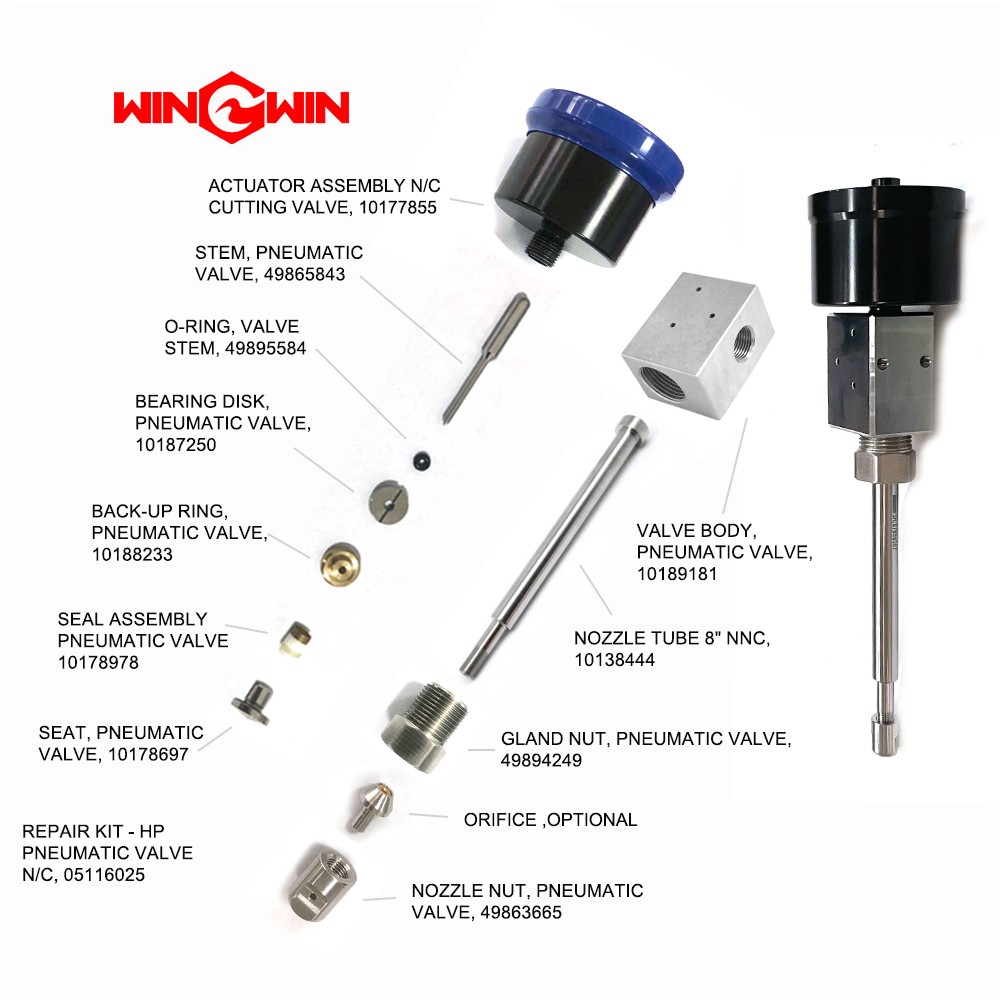
Includes the valve needle (valve stem or pin), guide rings, sealing rings, valve seat (valve pad), and seat O-ring as a complete set .
Functions as the core sealing mechanism within the water switch valve body, controlling high-pressure water flow by needle movement .
Designed to hold the pneumatic valve needle in position while preventing water leakage from the high-pressure water supply line .
Precision-engineered components ensure leak-tight shut-off during valve closure.
Replaces multiple OEM part numbers for broad compatibility across various waterjet systems .
Maintenance:
Fully depressurize the waterjet system and disconnect power before removing the water switch valve body .
Remove the pneumatic cylinder from the top of the water switch valve body to access the internal valve seal assembly .
Disassemble the water switch valve body according to the equipment service manual, carefully extracting the old valve needle, seals, valve seat, and O-rings.
Thoroughly clean the valve body interior and all mating surfaces using a soft cloth and low-pressure water or compatible solvent; remove all debris, mineral deposits, and old seal residue.
Inspect the valve body bore for scoring, pitting, corrosion, or erosion; replace the valve body if significant damage is found.
Inspect all new seal assembly components for damage before installation; ensure seals are free from nicks, cuts, or deformation.
When installing, apply manufacturer-recommended high-pressure grease to O-rings and seals to facilitate assembly and prevent damage .
Install seals, guide rings, valve seat, and valve needle in the correct sequence and orientation as shown in the service manual.
Ensure the O-ring is properly seated in its groove before final assembly .
Reassemble the water switch valve body and reattach the pneumatic cylinder.
After reinstallation, slowly pressurize the system and test the on/off valve repeatedly to ensure complete jet stop and no leakage .
If the valve fails to close fully or leaks when closed, re-inspect the valve seal assembly installation.
Replace the entire seal assembly during scheduled preventive maintenance to prevent unplanned downtime; do not reuse individual components from an old assembly.
Consider replacing the entire water switch valve body if repeated seal failures occur .