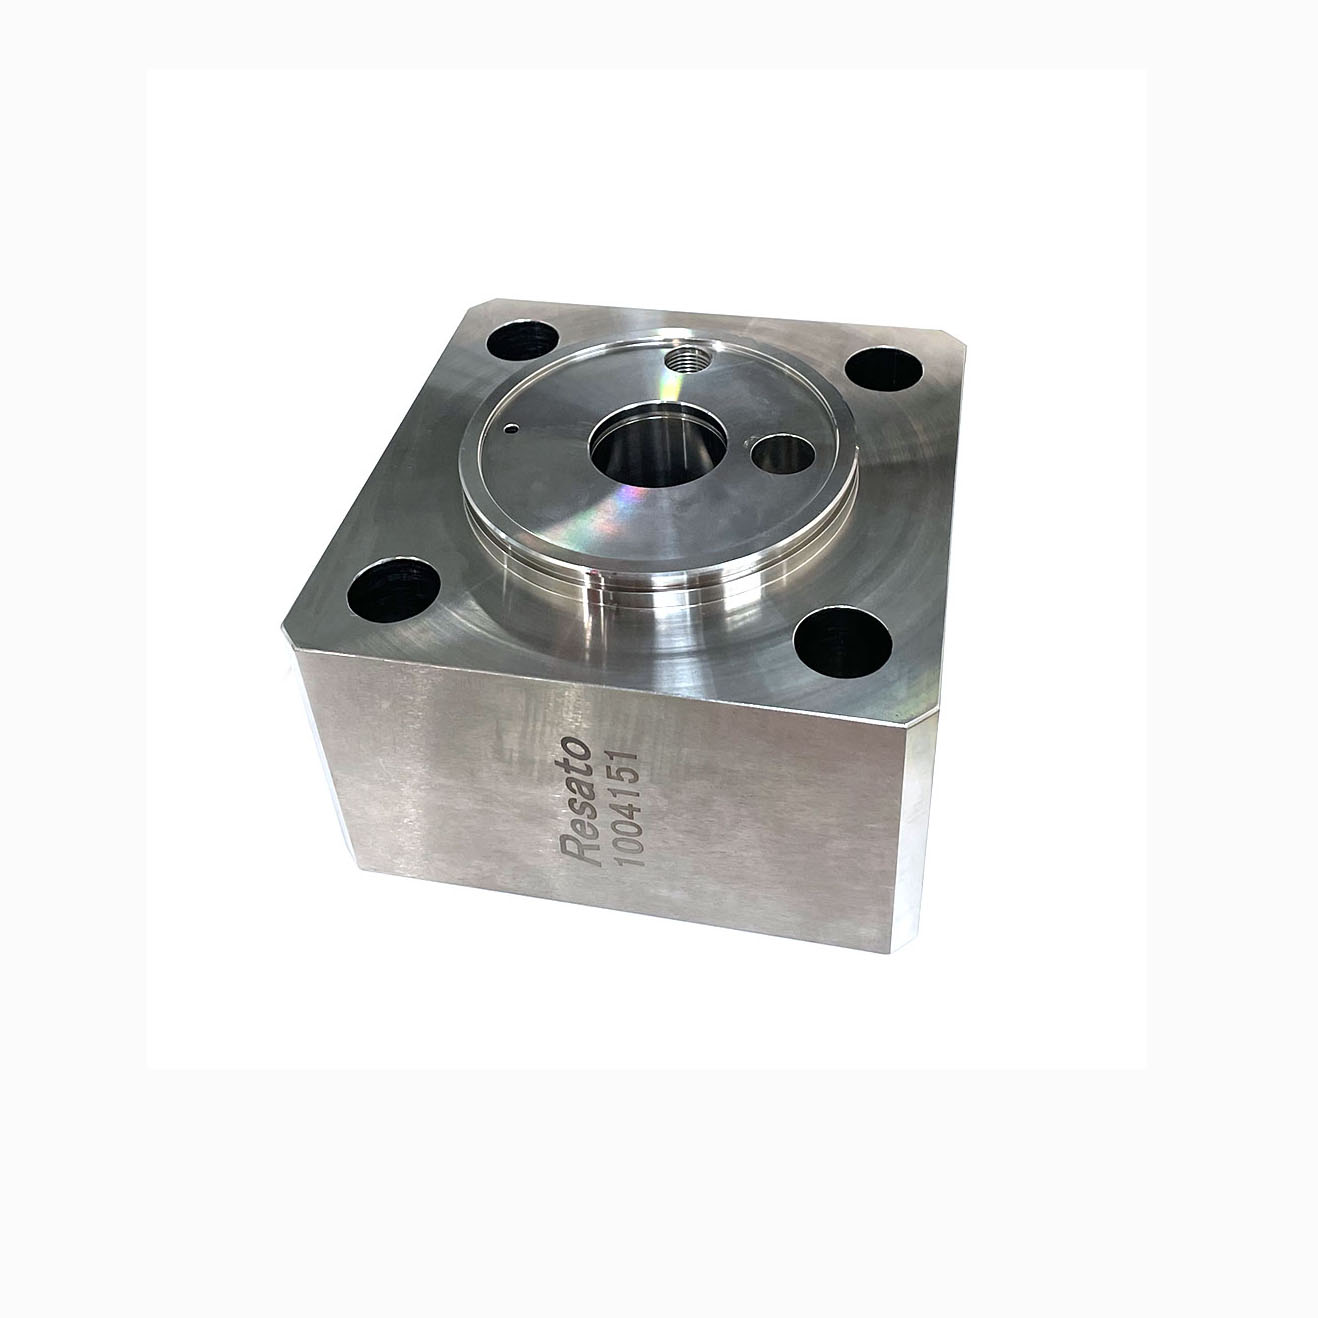

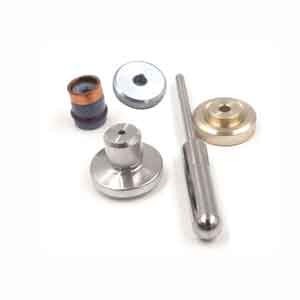
05116025-waterjet-on-off-repair-kit-KMT-waterjet.1605.3-1
Product ID: 05116025 – Waterjet On/Off Valve Repair Kit
Description:
This component is a complete on/off valve repair kit designed for high-pressure waterjet cutting systems . It contains all the precision seals, O-rings, backup rings, and internal components required to rebuild and reseal the on/off valve assembly that controls the start and stop of the high-pressure waterjet . This kit is specifically engineered for the pneumatic or solenoid-operated on/off valve typically located between the high-pressure pump and the cutting head . This part number may be referenced alongside or as an alternative to 05116017 in various documentation .
Applications:
Used to rebuild the on/off valve (water switch) assembly that controls the cutting jet start/stop function on waterjet cutting machines .
Installed within the valve body to replace worn seals and valve seats that have degraded from high-pressure cycling and abrasive exposure .
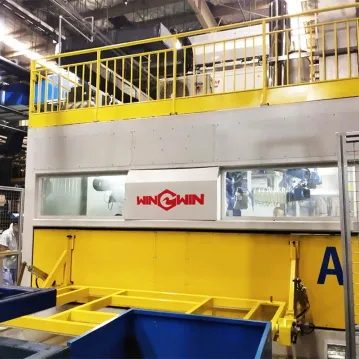
Suitable for both pure water and abrasive waterjet systems operating at pressures up to 60,000 psi (approximately 4,137 bar) .
Features:
Contains all required sealing and wear components for a complete valve overhaul, including valve seat, high-pressure valve seal, valve stem, backup rings, and O-rings .
Seals and backup rings manufactured from high-pressure-rated, wear-resistant materials to withstand extreme pressure cycling and abrasive environments .
Precision-machined valve stem and seat components ensure leak-tight shut-off and reliable performance .
Includes brass and stainless steel backup rings to prevent seal extrusion under ultra-high pressure .
Typically includes assembly lubricant (high vacuum grease) and a wood dowel for seal installation assistance .
Maintenance:
Fully depressurize the waterjet system and disconnect power before servicing the on/off valve assembly .
Remove the on/off valve body from the system, noting the orientation of inlet and outlet ports.
Disassemble the valve according to the equipment service manual, carefully extracting the old valve stem, seals, seat, and backup rings.
Thoroughly clean the valve body interior and all mating surfaces using a soft cloth and low-pressure water or compatible solvent.
Inspect the valve body bore for scoring, pitting, corrosion, or erosion; replace the valve body if damage is found.
Inspect all new kit components for damage before installation; ensure seals are free from nicks or deformation.
Lubricate new seals and O-rings with the provided high-pressure grease or manufacturer-recommended assembly lubricant .
Install seals, backup rings, and the valve stem in the correct sequence and orientation as shown in the service manual.
Use the provided wood dowel if included to assist in seating seals without damaging sealing surfaces .
Reassemble the valve and tighten all threaded connections to the torque values specified in the equipment service manual.
After reinstallation, slowly pressurize the system and test the on/off valve repeatedly to ensure complete jet stop and no leakage.
If the valve fails to close fully or leaks when closed, re-inspect the valve seat and seal installation.
Replace the entire kit during scheduled preventive maintenance to prevent unplanned downtime; do not reuse individual seals from an opened kit .