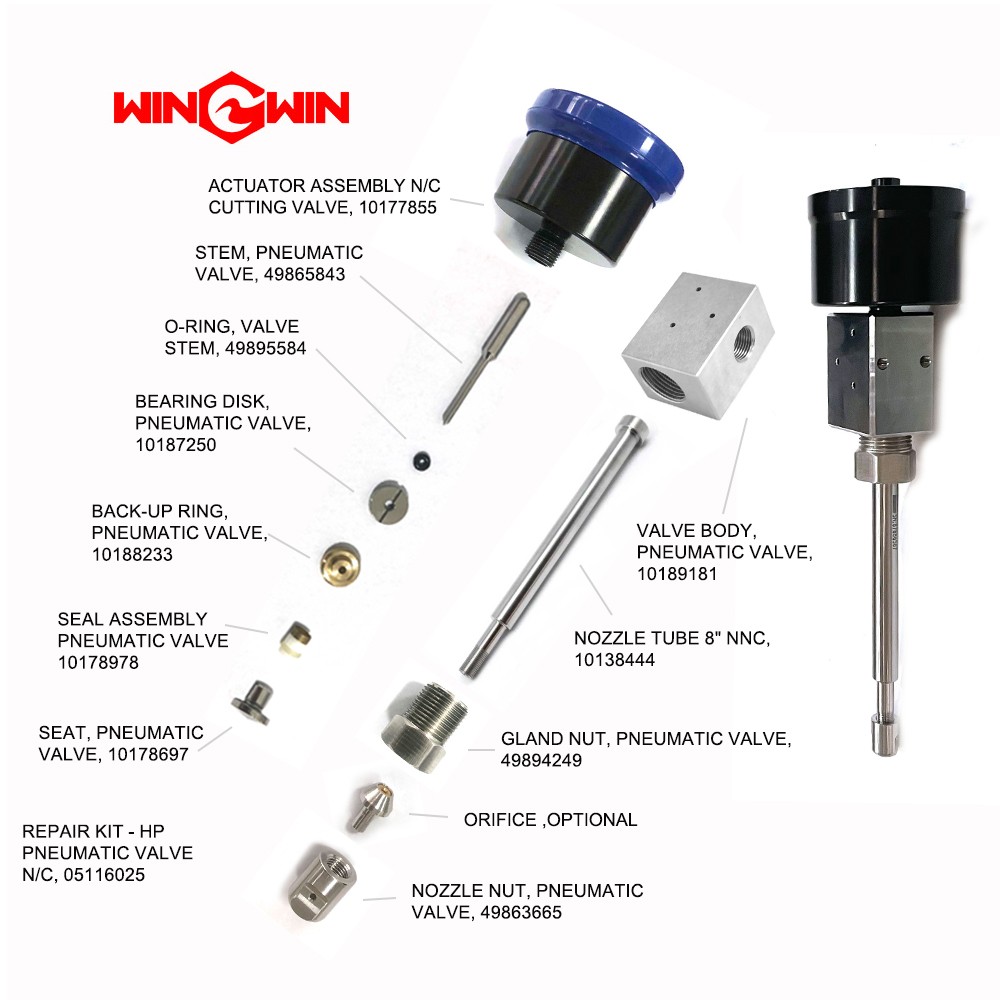
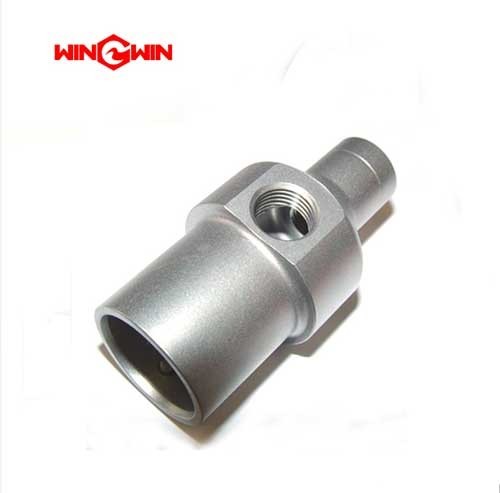
05076971-cap-autoline-i.847.3-1
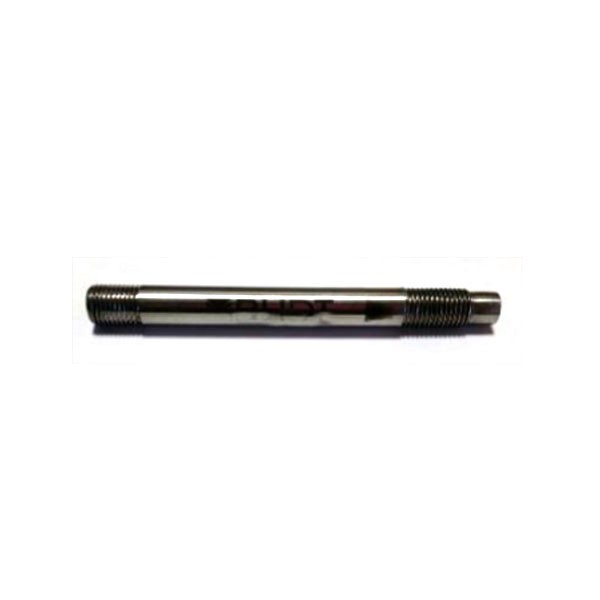
Product ID: 05076971 – Nozzle Cap / Cap, Autoline™ I
Description:
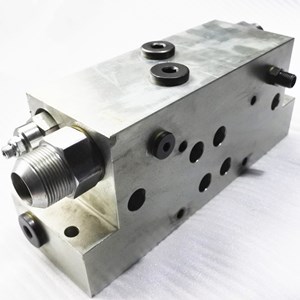
This component is a nozzle cap designed specifically for the Autoline™ I abrasive waterjet cutting head assembly . It is a threaded cap that secures the upper portion of the cutting head, retaining internal components such as the orifice, wear insert, and mixing chamber within the nozzle body .
Applications:
Used as the uppermost retaining cap on Autoline™ I abrasive waterjet cutting head assemblies .
Installed to secure the orifice and seal the top of the mixing chamber within the nozzle body (Product ID 05073820).
Suitable for ultra-high pressure waterjet systems operating at 60,000 PSI (approximately 4,137 bar) and compatible with Autoline I series components.
Features:
Constructed from high-strength, corrosion-resistant material (typically hardened stainless steel) to withstand ultra-high pressure operation.
Precision-machined threads for proper fit with the Autoline I nozzle body assembly .
Designed to provide proper compression and sealing for internal O-rings and seals within the cutting head .
Engineered specifically for the Autoline™ I self-aligning cutting head system, ensuring correct alignment between the orifice, mixing chamber, and focusing tube.
Features a compact profile that allows for installation in the confined space of the cutting head assembly.
Maintenance:
Fully depressurize the waterjet system and follow lockout/tagout procedures before removing the nozzle cap.
During disassembly, use the correct size wrench on the cap's wrench flats; do not use pipe wrenches or pliers that may damage the cap surfaces.
Inspect the cap threads for signs of wear, galling, or corrosion before reassembly.
Inspect the internal sealing surface that contacts the O-ring for pitting, scratching, or erosion.
Clean the cap thoroughly using a soft cloth and low-pressure water; remove all debris, old abrasive particles, and seal residue.
When reinstalling, lubricate the threads and O-ring with manufacturer-recommended high-pressure grease.
Install the cap over the orifice and seal, ensuring the O-ring is properly seated before tightening .
Tighten the cap to the specific torque value listed in the equipment service manual; over-tightening may damage the internal seals or orifice, while under-tightening may cause high-pressure leaks.
Replace the cap if threads are damaged, if wrench flats are rounded, or if cracks are detected.
During routine cutting head maintenance, inspect the cap for wear and replace if necessary .