
302001-2-OnOff-Valve-Repair-Kit-Ultra-II-for-H2O-Jet
Product Name: On/Off Valve Repair Kit for Ultra-II (Part No. 302001-2)
Description:
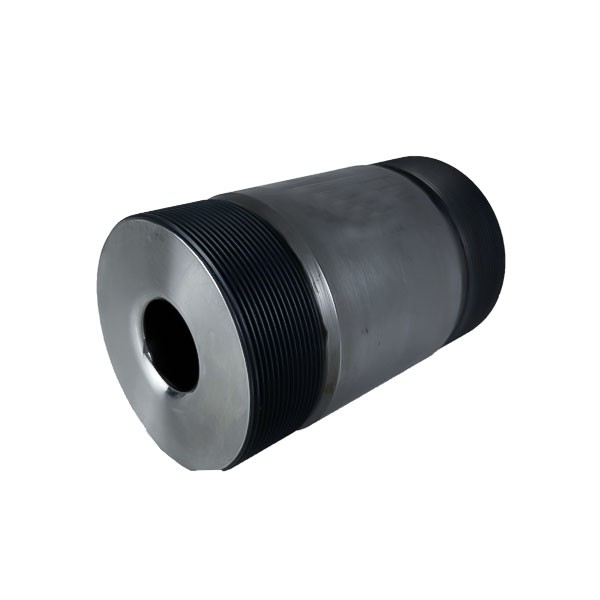
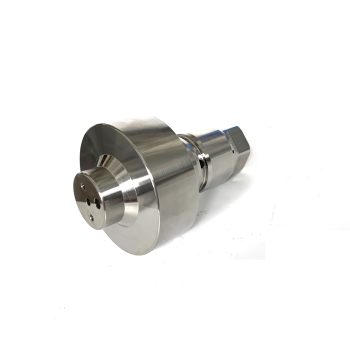
The On/Off Valve Repair Kit 302001-2 is a specialized maintenance kit designed for the Ultra-II series pneumatic on/off valve assembly (water switch) in high-pressure waterjet cutting systems . This kit is specifically engineered for use with H2O Jet brand equipment and the Ultra-II valve platform.
The kit contains the essential consumable components required to rebuild the water on/off valve, restoring its ability to start and stop the high-pressure waterjet without leakage . The on/off valve is a pneumatically actuated component that controls water flow to the cutting head; over time, internal seals and the valve needle wear due to high-pressure cycling and rapid switching frequencies, leading to water leakage, delayed shutoff, or reduced cutting performance .
As an extended-life repair kit, this product incorporates enhanced materials designed for longer service life in high-cycle applications where the valve opens and closes frequently during industrial cutting operations . The kit is cross-referenced with other industry part numbers including 1-11279 and 1-13430, and is compatible with 60,000-94,000 PSI (approximately 4,137-6,480 bar) waterjet systems .
Applications:
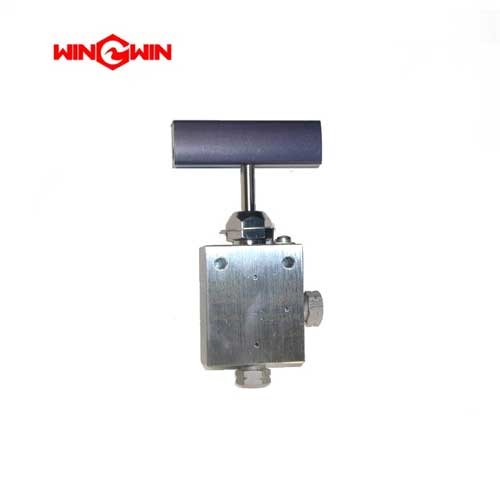
Rebuilds the water on/off valve (water switch) on Ultra-II series cutting heads for H2O Jet waterjet systems
Restores leak-free shutoff and crisp valve actuation response
Suitable for ultra-high pressure waterjet systems operating at 60,000-94,000 PSI
Ideal for high-cycle applications requiring frequent valve switching
Used during scheduled preventive maintenance or when valve leakage or delayed response is detected
Features:
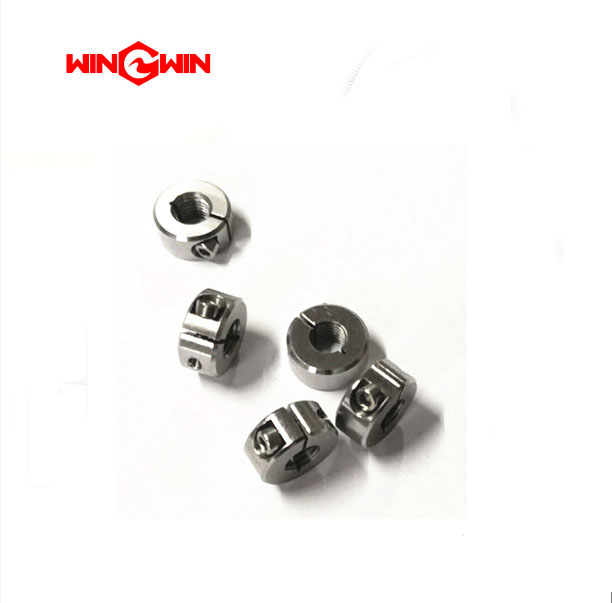
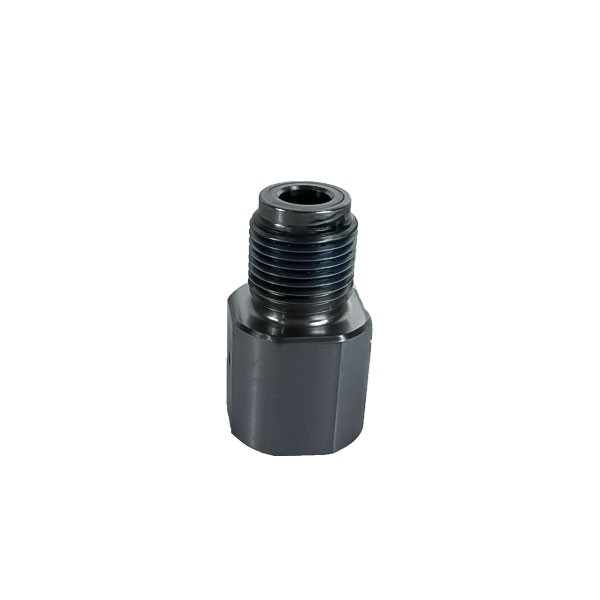
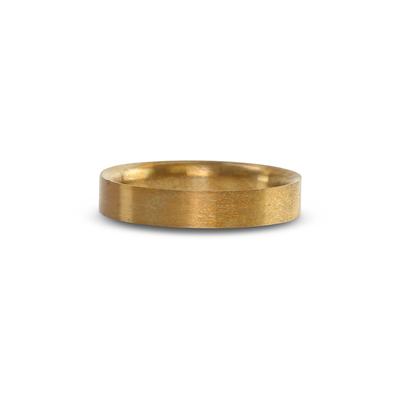
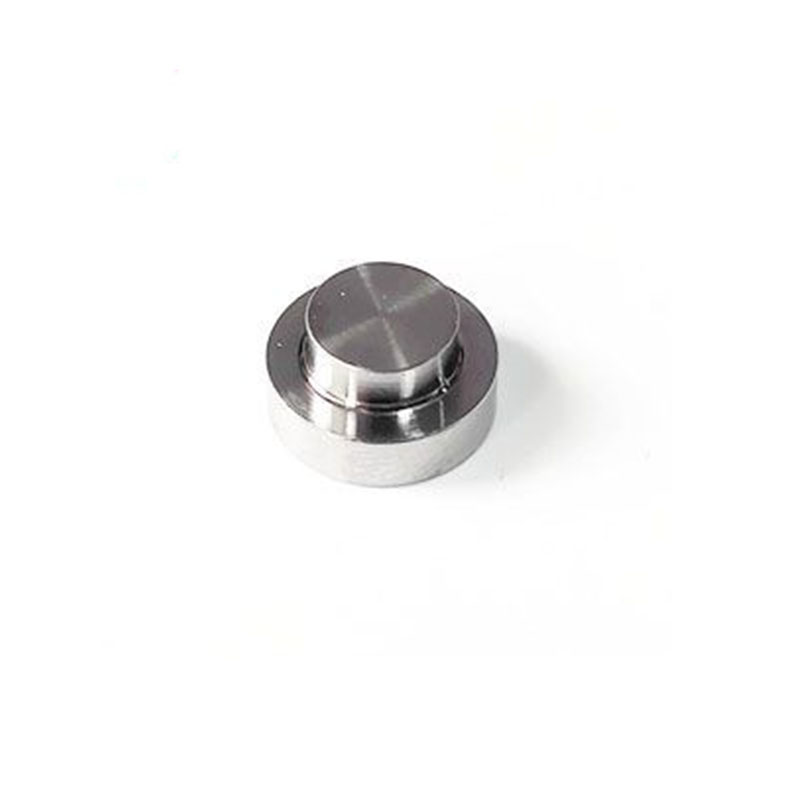
Complete Consumable Set: Contains all wear parts including valve seals, valve stem (needle), valve seat, O-rings, guide rings, and backup components required for a full valve rebuild
Extended-Life Design: Enhanced materials for longer service life compared to standard repair kits
High-Pressure Rating: Components engineered for continuous operation at 60,000-94,000 PSI
Ultra-II Compatibility: Specifically designed for Ultra-II series on/off valve assemblies
Cross-Reference Compatibility: Interchangeable with industry part numbers 1-11279, 1-13430, and 010200-1
Cost-Effective Maintenance: Restores valve function at significantly lower cost than replacing the entire valve assembly
Maintenance:
When to Replace (Failure Diagnosis):
Water Leakage from Cutting Head: Visible water dripping from the mixing tube when the valve is supposed to be closed indicates seal or valve stem failure requiring immediate kit replacement
Delayed or Inconsistent Valve Response: Sluggish opening/closing or erratic actuation suggests internal wear
Pressure Drop: Inability to maintain rated cutting pressure may indicate valve seal degradation
Scheduled Preventive Maintenance: Replace on a regular schedule based on operating hours to prevent unplanned downtime
High-Cycle Operation: Machines with frequent valve switching require more frequent kit replacement due to accelerated wear
Inspection and Replacement Guidelines:
Full Depressurization (Critical): Before any maintenance, fully depressurize the waterjet system (high-pressure water and air supply) and follow lockout/tagout procedures to prevent severe injury
Complete Kit Replacement: When valve wear is detected, replace all components in the kit simultaneously—do not mix new parts with old ones
Clean Room Conditions: Perform valve rebuild in a designated clean area to prevent contamination of new seals with abrasive particles
Component Orientation: Follow the equipment service manual for correct orientation of seals, backup rings, and the valve stem within the valve body
Lubrication: Apply manufacturer-recommended high-pressure grease to seals and O-rings during installation to prevent dry start-up and ensure proper seating
Inspect Valve Body: Before installing new components, inspect the valve body bore for scoring, pitting, or damage that could compromise new seals
Torque Compliance: When reassembling, tighten the pneumatic cylinder and retaining components to torque specifications in the equipment service manual
Post-Installation Testing: After reassembly, slowly pressurize the system and test the valve repeatedly to verify leak-free shutoff and proper actuation before returning to full cutting operations
Cross-Reference Part Numbers: Equivalent to 1-11279, 1-13430, and 010200-1